Have you ever noticed your Wi-Fi dropping out just when you walk into a different room? For a long time, my home network struggled to keep up, leaving dead zones that made working from home or streaming a frustrating experience.
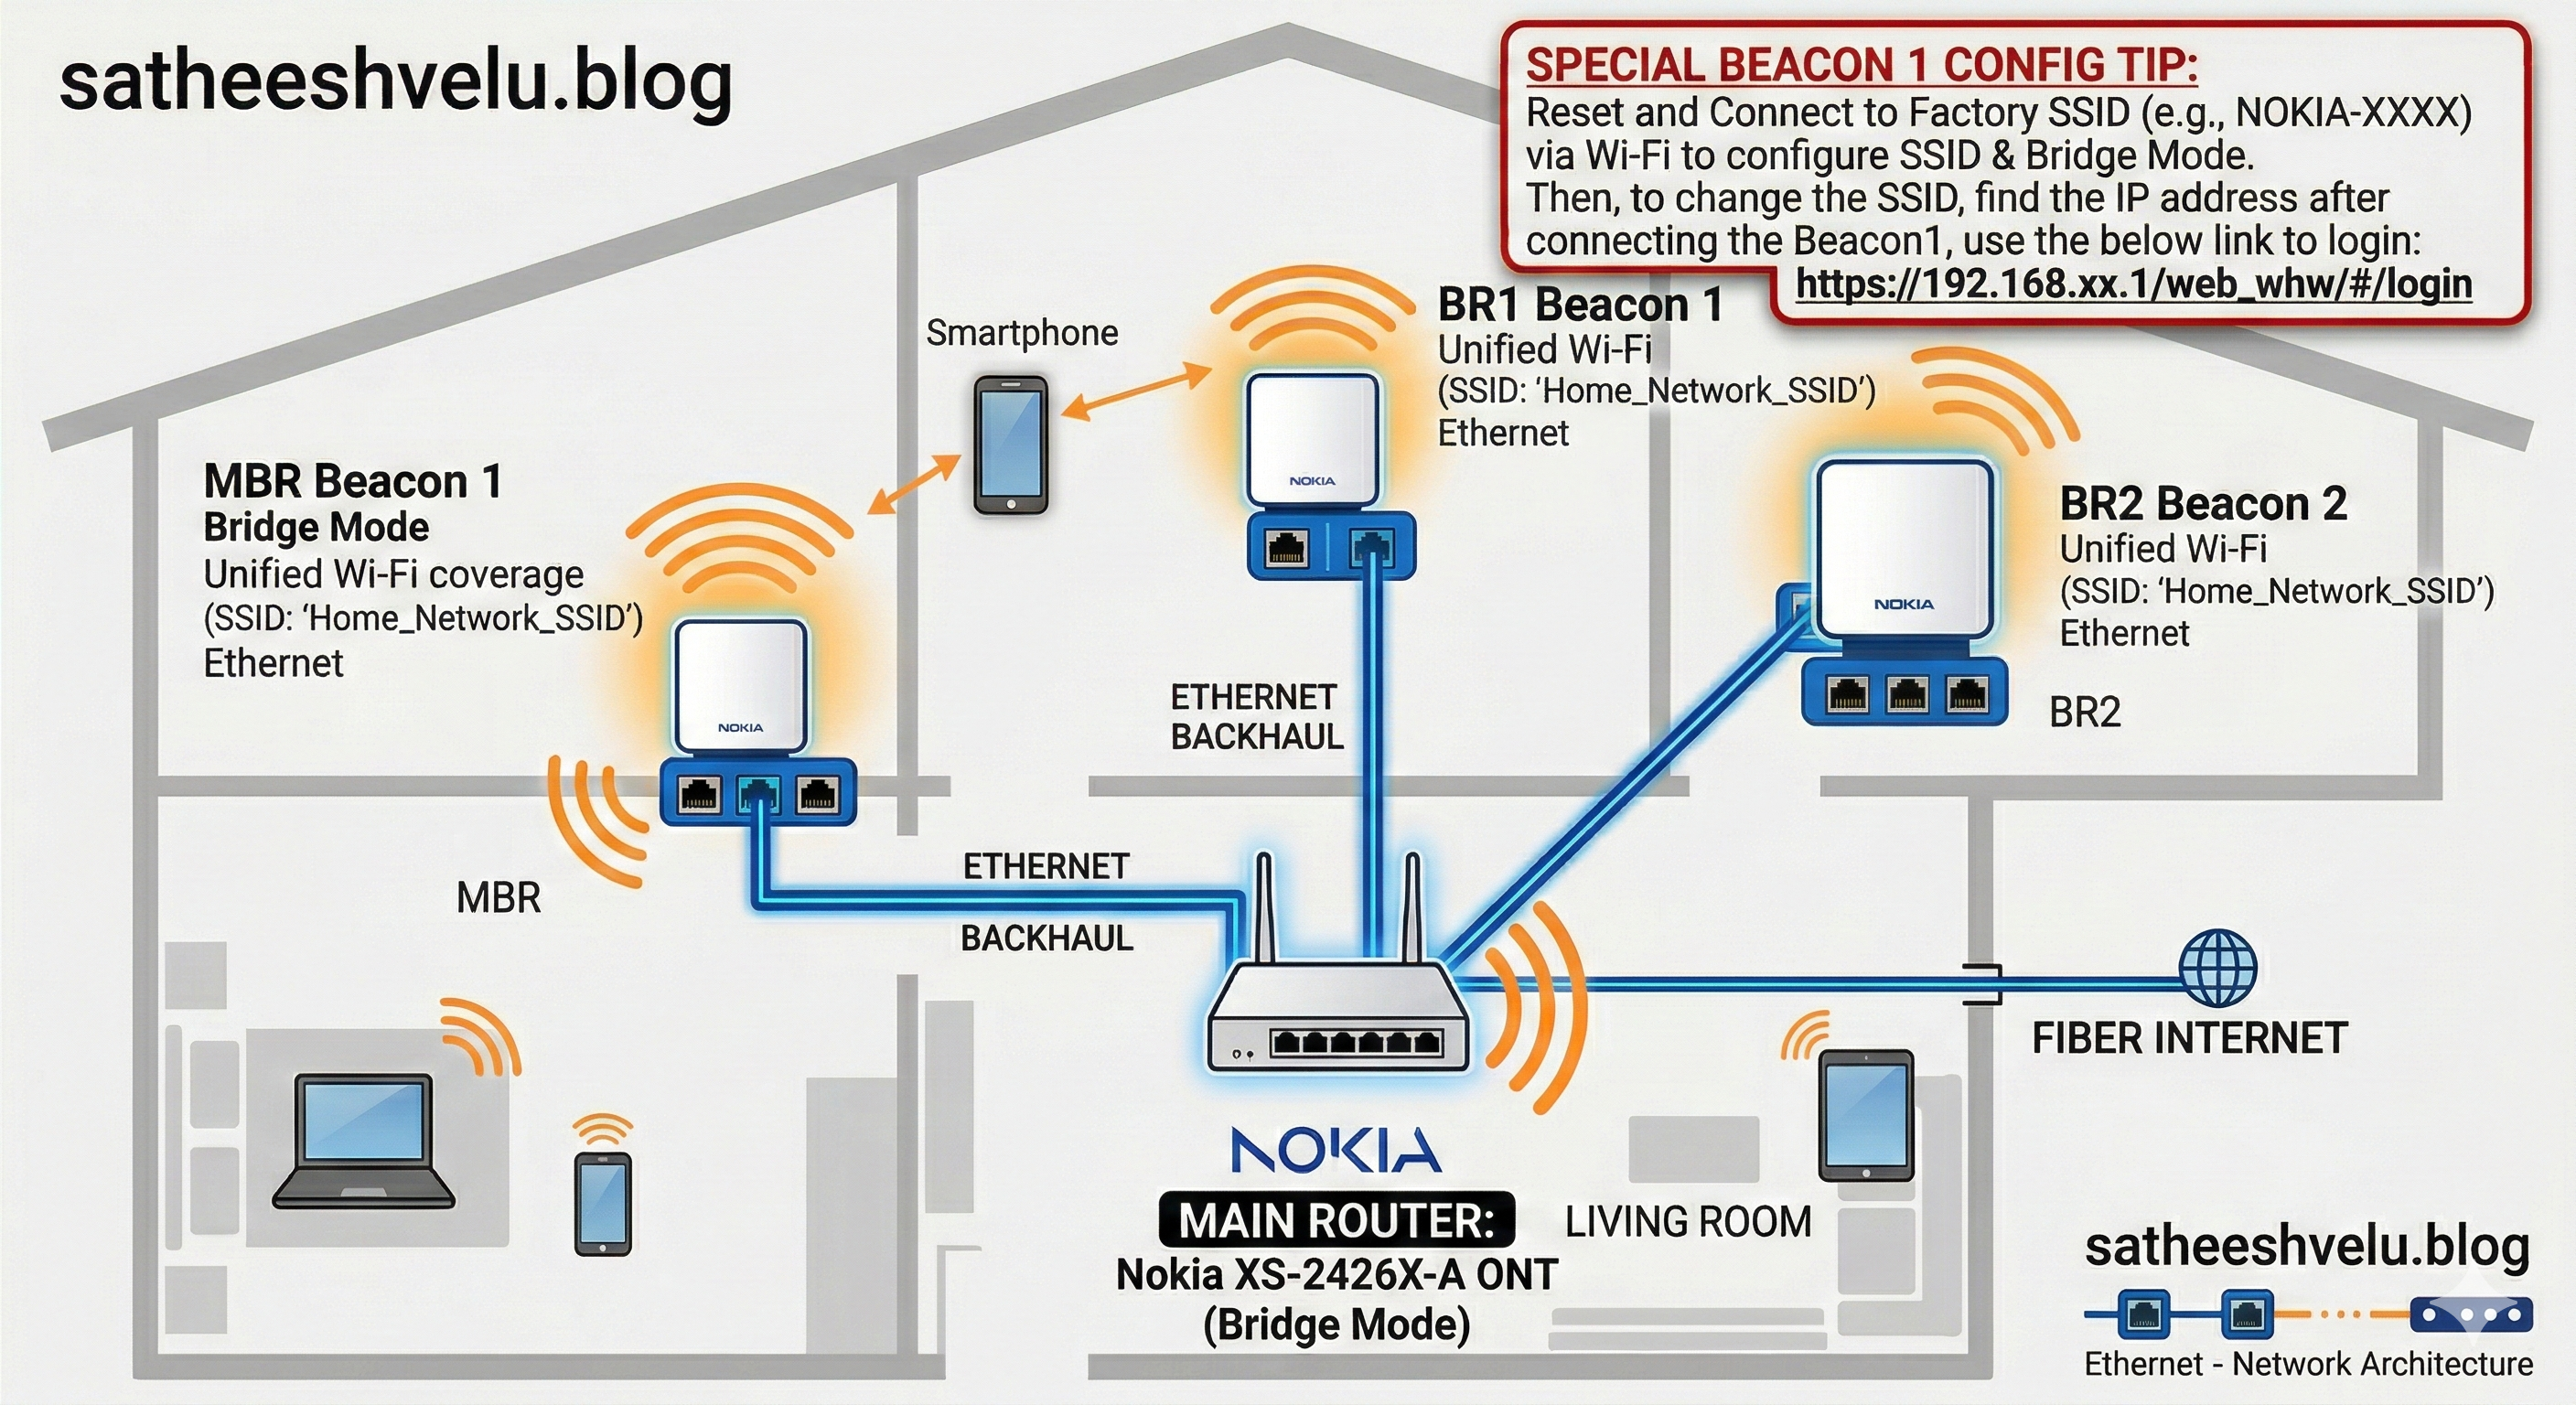
I recently decided to fix this once and for all by upgrading to a Mesh Wi-Fi network. I'm using a Nokia XS-2426X-A ONT (Optical Network Terminal) as my main router, paired with three Nokia Beacons scattered around the house. The goal? Seamless, high-speed internet in every single room.
While the theory of a mesh network is simple, getting the hardware to talk to each other correctly wasn't entirely straightforward—especially when configuring the first Nokia Beacon.
If you just plug the Beacon into your router with an Ethernet cord right out of the box, it tends to stubbornly hold onto its default settings, making it nearly impossible to configure properly. Through trial and error, I discovered a very specific "order of operations" needed to make the setup smooth.
Here is the exact procedure I used to banish Wi-Fi dead zones for good.
The Secret: Configuring Beacon 1
The trick to configuring the first Nokia Beacon correctly is that you must follow a strict order: First, set your Wi-Fi Name (SSID), and only then turn on the Mesh features.
Here is the step-by-step process:
- Reset to Factory Settings: Start fresh. Use a small pin or paperclip to press the reset button on the bottom of the Beacon 1 until the lights flash.
- Connect Wirelessly (Don't plug it in yet!): Do not connect the Ethernet cable to the Beacon yet. Instead, use your phone or laptop to connect to the temporary factory Wi-Fi network broadcast by the Beacon. You can find this name (usually something like
NOKIA-XXXX) and the default password printed on the sticker underneath the device. - Log into the Beacon: Once connected to that temporary network, open your web browser and navigate directly to the Beacon's administration page. The specific link for this is:
https://192.168.xx.1/web_whw/#/login(Note: you may get a security warning in your browser; it's safe to proceed to your own device). - Step 1: Set the SSID (Your Wi-Fi Name): Navigate to the Wireless settings within the portal. Here, you need to change the Wi-Fi Network Name (SSID) and Password to match your main router's Wi-Fi exactly. Save these settings. Why? Because your devices won't realize they've switched routers if the name and password are identical.
- Step 2: Enable the Mesh Setting: Only after the new SSID is saved should you go to the Mesh settings menu. Turn on Bridge Mode and enter the Serial Number (SN) of the Beacon. Why? This stops the Beacon from trying to act like a separate router and instead tells it to act as an extension of your main router.
- Plug in the Cable: Finally, now that the brain is configured, you can plug the Ethernet cable coming from your main router into the Blue port of the Beacon.
The Strategy Summary
To give you a clearer picture of why this worked, here is a summary of the strategy:
| Step | What I Did | The "Why" Behind It |
|---|---|---|
| 1. Wired Connections | I plugged all Beacons into the main router using Ethernet cables. | This creates an "Ethernet Backhaul." Instead of the Beacons using Wi-Fi to talk to the router (which slows things down), they use a dedicated wire, leaving all the wireless bandwidth free for your phones and laptops. |
| 2. Match the Wi-Fi Name First | I matched the Wi-Fi names before touching any Mesh settings. | This ensures your phone doesn't get confused and disconnected while you are halfway through the setup process. |
| 3. Mesh Settings Second | I enabled Bridge Mode after the name was set. | This prevents the Beacon from fighting with your main router over who gets to assign IP addresses to your devices (a problem known as Double NAT). |
| 4. Registered the Serial Numbers | I entered the Serial Number of each Beacon into the main router's settings. | This formally introduces the Beacons to the main router, allowing the router to manage them all as one unified team. |
The Final Result
After following these steps, my home is finally blanketed by one fast, cohesive network.
- Master Bedroom (MBR) & Bedroom 1 (BR1): I placed Beacon 1 units here. They are now perfectly synchronized with the main router.
- Bedroom 2 (BR2): I placed a Beacon 2 unit here to ensure high-speed coverage reaches the furthest corners.
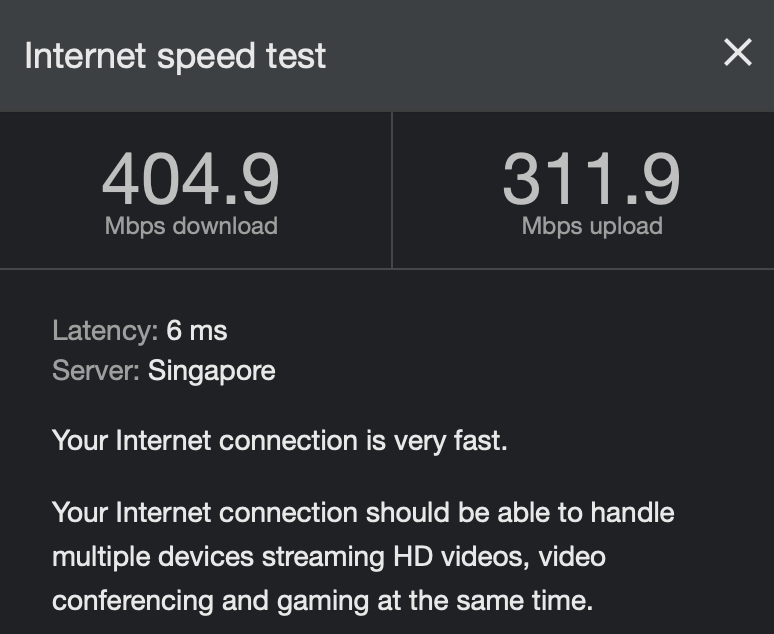
- The Performance: Because every Beacon is physically wired back to the main router, there is zero signal degradation. The internet is blazing fast in every room.
Conclusion
Upgrading to a mesh network is one of the best quality-of-life improvements you can make for your home tech. The secret to success with the Nokia Beacons specifically is patience and the right order of steps: Set the SSID first, then activate the Mesh.
If you follow this guide, those confusing "NOKIA-XXXX" default networks will disappear, your devices will hand off seamlessly as you walk around the house, and your home Wi-Fi will finally be reliable.